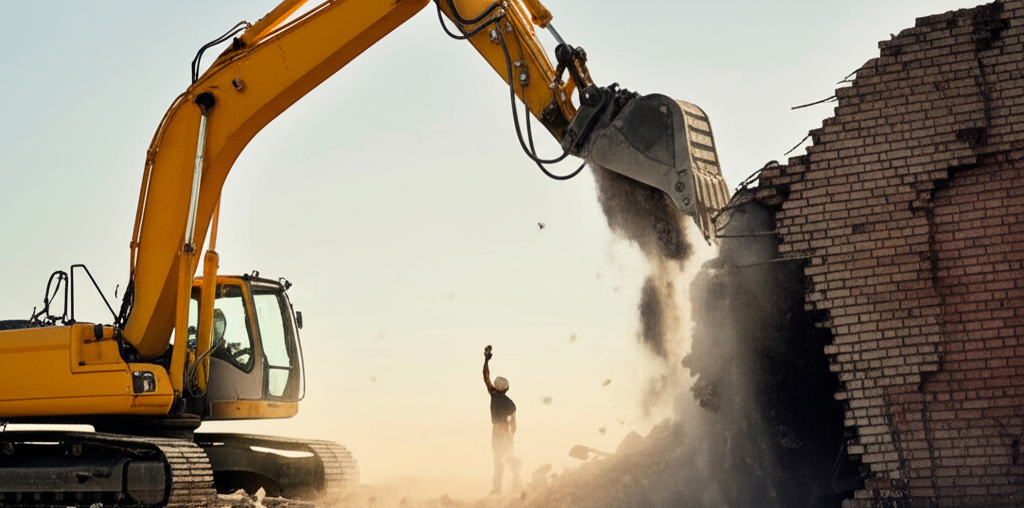
Proper preparation is essential for a smooth, efficient demolition project. Whether you're demolishing a residential structure or a commercial building, taking the right steps before the demolition crew arrives can save time, money, and potential headaches. This comprehensive checklist will help you ensure your property is fully prepared for demolition.
1. Secure Necessary Permits and Approvals
Before any demolition work begins, ensure you have:
- Demolition permit from your local building department
- Historic preservation clearance (if applicable)
- HOA approval (if applicable)
- Environmental permits (if required)
- Tree removal permits (if needed)
- Street closure or right-of-way permits (if demolition will affect public areas)
Keep copies of all permits and approvals on-site during the demolition process. Your demolition contractor can often handle the permitting process for you.
2. Disconnect and Cap Utilities
All utilities must be properly disconnected before demolition begins:
- Electricity: Contact your electric company to disconnect service and remove meters
- Gas: Arrange for your gas provider to shut off service and cap lines
- Water: Contact your water utility to shut off service at the main and cap the line
- Sewer: Have the sewer line capped at the property line
- Telephone/Cable/Internet: Schedule disconnection with service providers
- Septic Systems: If applicable, have the tank pumped and properly abandoned
- Wells: If applicable, ensure proper abandonment according to local regulations
Obtain written confirmation of all utility disconnections. These documents may be required for your demolition permit and will protect you from liability.
Important Safety Note
Never attempt to disconnect utilities yourself. Always work with the utility companies or licensed professionals to ensure safe disconnection and capping of services.
3. Conduct Environmental Assessments
Identify and address any hazardous materials before demolition:
- Asbestos Survey: Required for buildings constructed before 1981. If asbestos is found, proper abatement must be completed by licensed professionals.
- Lead Paint Assessment: Homes built before 1978 likely contain lead paint, which requires special handling procedures.
- Mold Inspection: Significant mold may require remediation before demolition to protect workers and prevent spore spread.
- PCBs: Often found in older transformers, light ballasts, and caulking.
- Underground Storage Tanks: Identify and properly remove any fuel or oil tanks.
- Mercury: Found in thermostats, switches, and fluorescent lighting.
Keep all environmental assessment reports and abatement certifications for your records. These may be required by your municipality and will be important documentation for future property use.
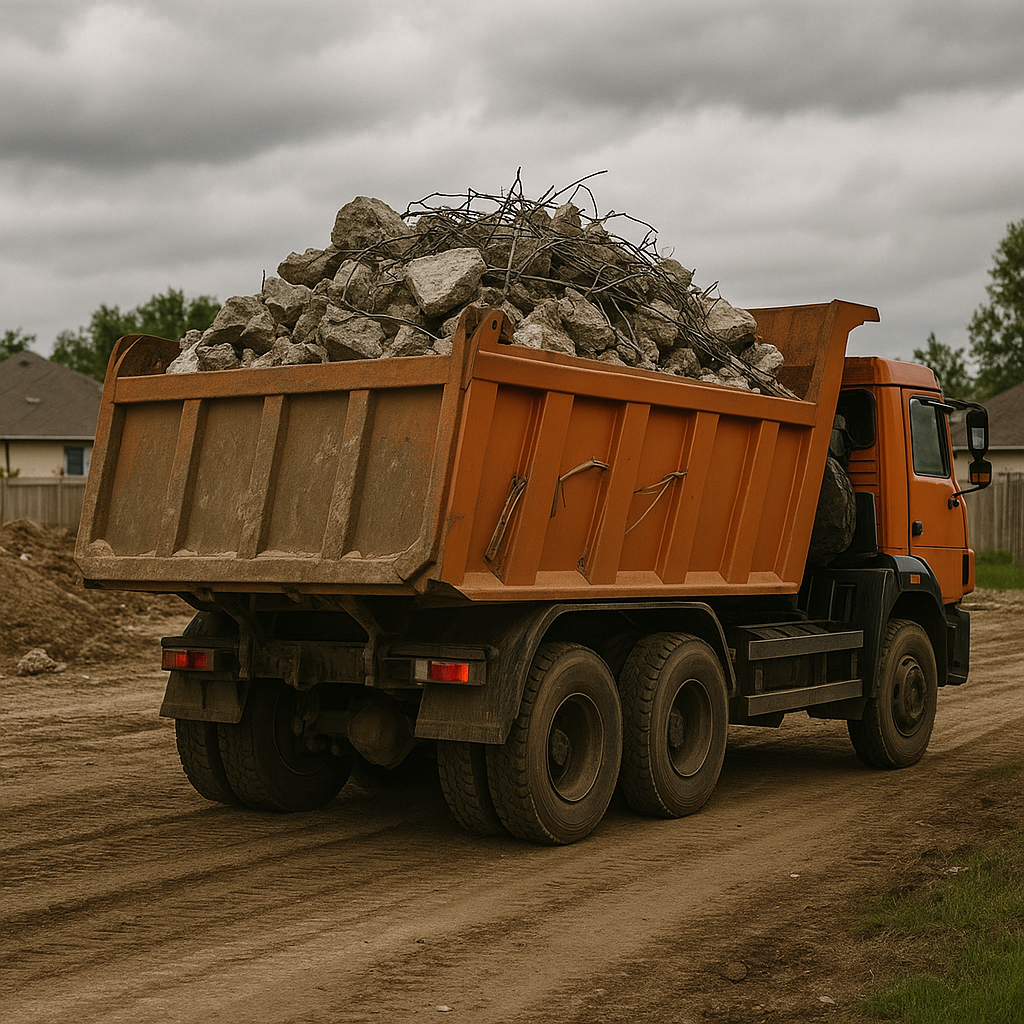
4. Salvage Valuable Materials
Before demolition, consider salvaging:
- Appliances and fixtures
- Cabinets and countertops
- Doors and windows
- Hardwood flooring
- Architectural elements (mantels, trim, moldings)
- HVAC equipment
- Plumbing fixtures
- Light fixtures
- Hardware (doorknobs, hinges, etc.)
Salvaged items can be:
- Reused in your new construction
- Sold to architectural salvage companies
- Donated to organizations like Habitat for Humanity ReStore (potentially providing a tax deduction)
5. Implement Pest Control Measures
Prevent pest dispersal to neighboring properties:
- Schedule professional pest control treatment at least one week before demolition
- Focus on rodents, cockroaches, termites, and other common pests
- Obtain a clearance letter from the pest control company (often required for demolition permits)
6. Protect Trees and Landscaping
If you plan to preserve trees or landscaping:
- Clearly mark trees and plants to be preserved
- Install protective fencing around trees at the drip line
- Discuss protection measures with your demolition contractor
- Consider consulting with an arborist for valuable or protected trees
- Relocate any plants you wish to save
7. Notify Neighbors and Address Community Concerns
Good communication helps prevent complaints and conflicts:
- Inform neighbors about the demolition schedule
- Provide contact information for questions or concerns
- Explain measures being taken to control dust, noise, and debris
- Consider offering to document the condition of neighboring properties before demolition (to address any damage claims)
- Be aware of local noise ordinances and work hour restrictions
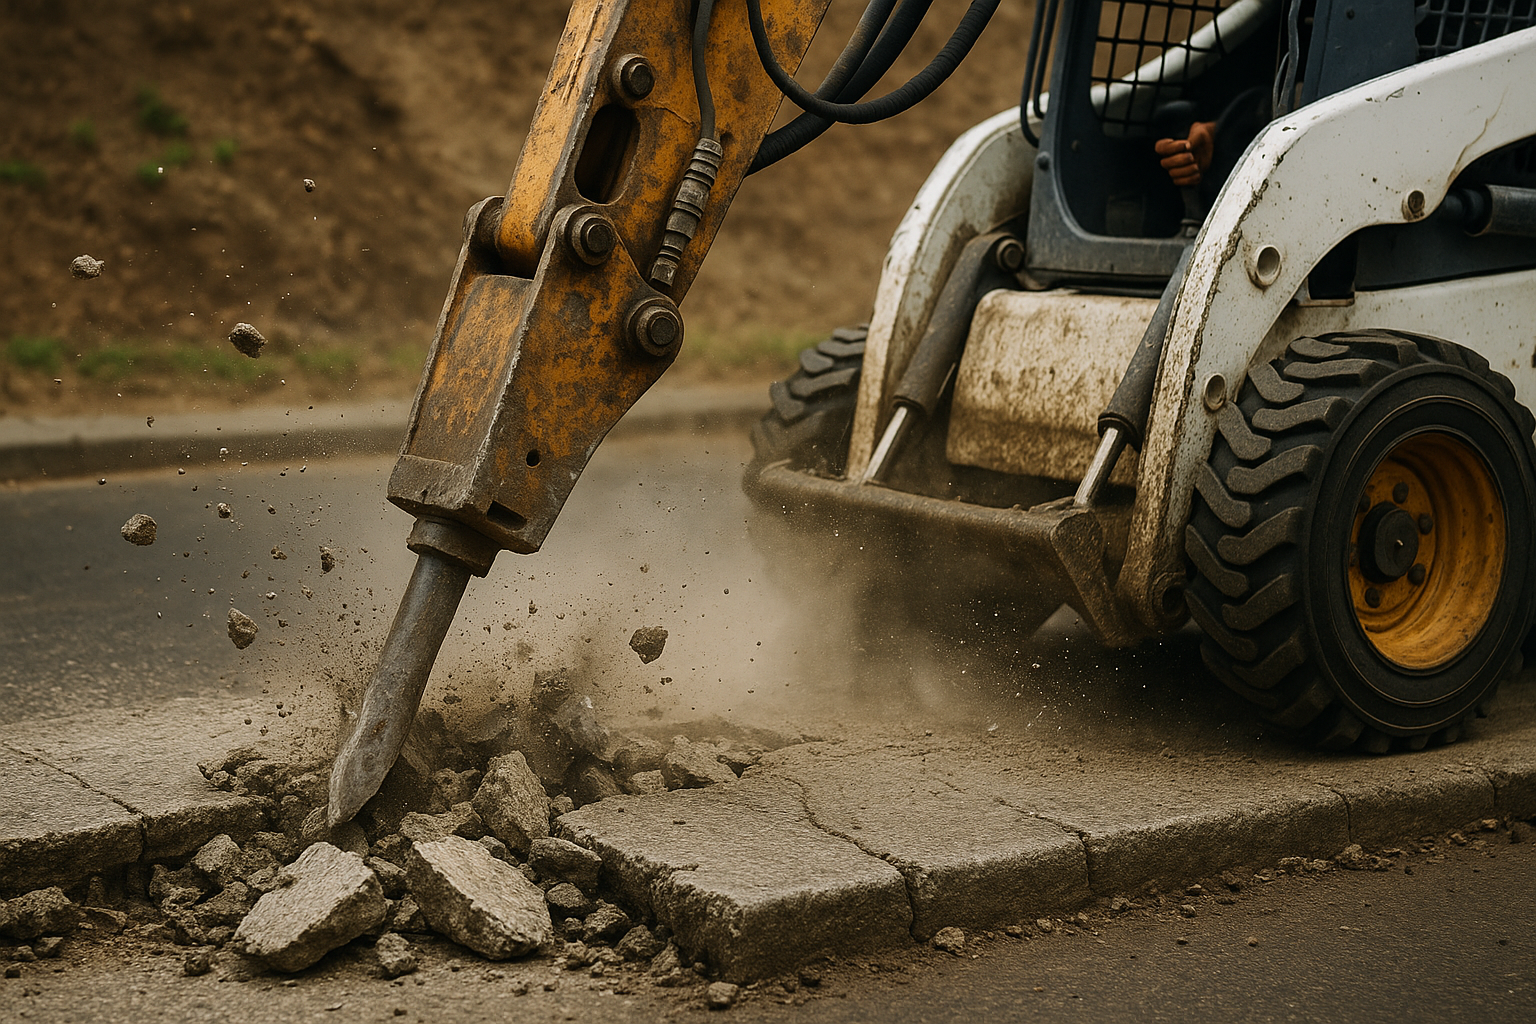
8. Prepare the Site for Equipment Access
Ensure demolition equipment can access your property:
- Remove fencing or gates that restrict access
- Trim low-hanging branches that could interfere with equipment
- Identify and mark underground utilities, irrigation systems, and septic components
- Clear the area of vehicles, portable structures, and personal belongings
- Identify a suitable location for equipment staging and debris loading

Professional Site Preparation
At ALLIED Wrecking, we help our clients navigate the entire preparation process. From permitting to utility disconnections, we ensure your property is properly prepared for safe, efficient demolition.
Contact Us for Assistance9. Document the Property
Before demolition, thoroughly document the property:
- Take photographs of all exterior elevations
- Document the interior condition
- Photograph neighboring properties to establish pre-demolition conditions
- Record the location of property lines and survey markers
- Note the location of underground utilities and septic systems
This documentation can be valuable for insurance purposes, addressing neighbor concerns, and planning future construction.
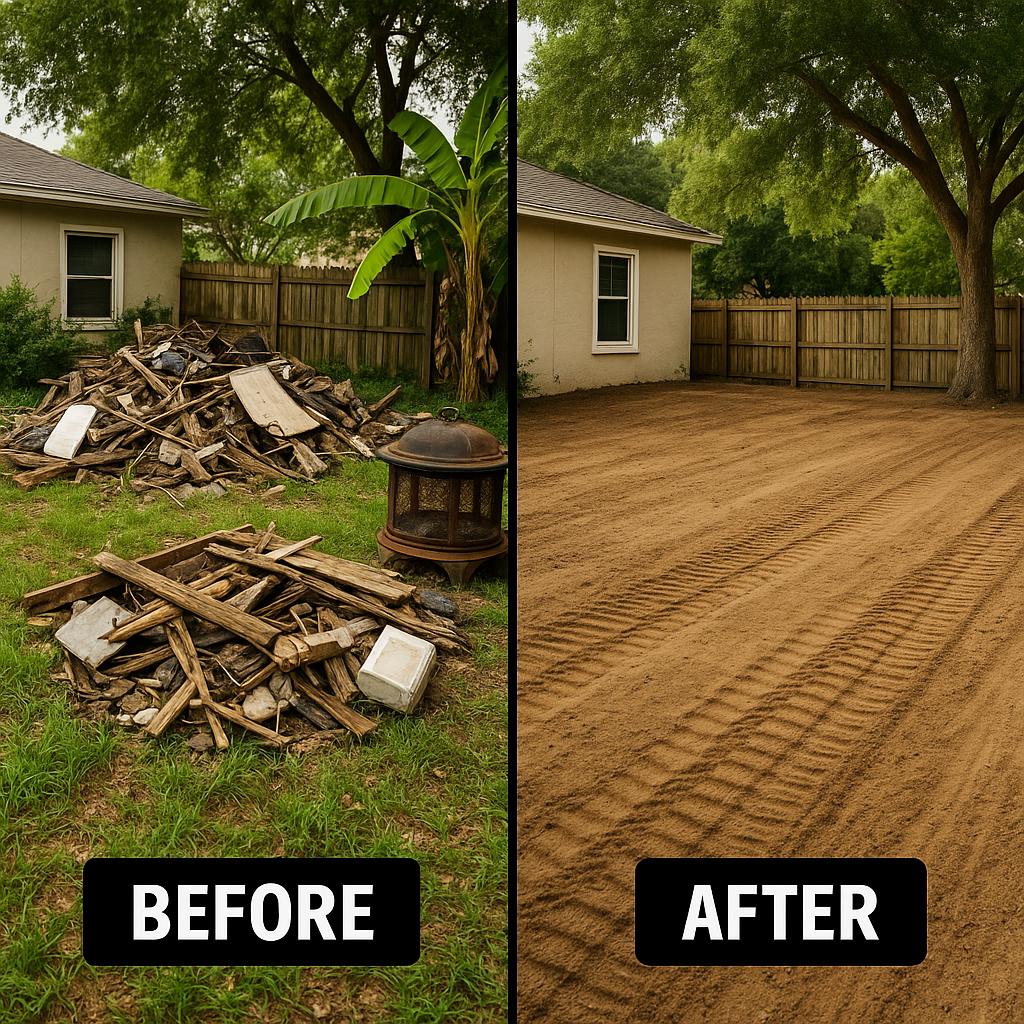
10. Remove Personal Items and Secure Valuables
Ensure nothing of value remains in the structure:
- Remove all personal belongings
- Check attics, crawl spaces, and storage areas
- Don't forget to check built-in cabinets and closets
- Remove any items attached to walls (artwork, TVs, shelving)
- Secure or remove exterior features you wish to keep (mailboxes, house numbers, light fixtures)
11. Address Special Considerations
Depending on your property, you may need to:
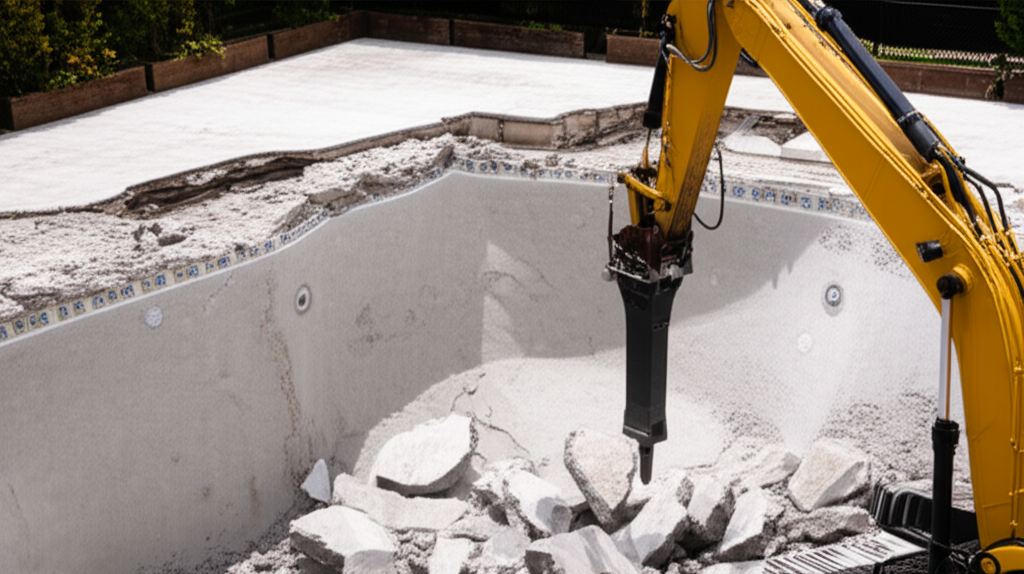
- Swimming Pools: Drain according to local regulations and prepare for proper demolition
- Outbuildings: Prepare sheds, garages, and other structures for demolition
- Fuel Tanks: Properly decommission and remove above or below-ground tanks
- Wells: Properly abandon according to local health department requirements
- Septic Systems: Pump, crush, and fill according to regulations
12. Establish Erosion and Sediment Controls
Prevent environmental damage and comply with regulations:
- Install silt fencing where needed
- Protect storm drains with filters
- Establish construction entrances to minimize tracking mud onto streets
- Plan for dust control measures
13. Finalize Demolition Plans and Contracts
Before work begins, ensure you have:
- A detailed written contract with your demolition contractor
- Clear understanding of what is and isn't included in the scope of work
- Confirmation of insurance coverage (request certificates of insurance)
- Agreement on start and completion dates
- Understanding of payment terms and schedule
- Plan for site restoration after demolition
14. Prepare for Post-Demolition
Plan ahead for what happens after demolition:
- Arrange for soil testing if required for new construction
- Schedule any necessary grading or fill
- Plan for erosion control until new construction begins
- Understand requirements for final inspections
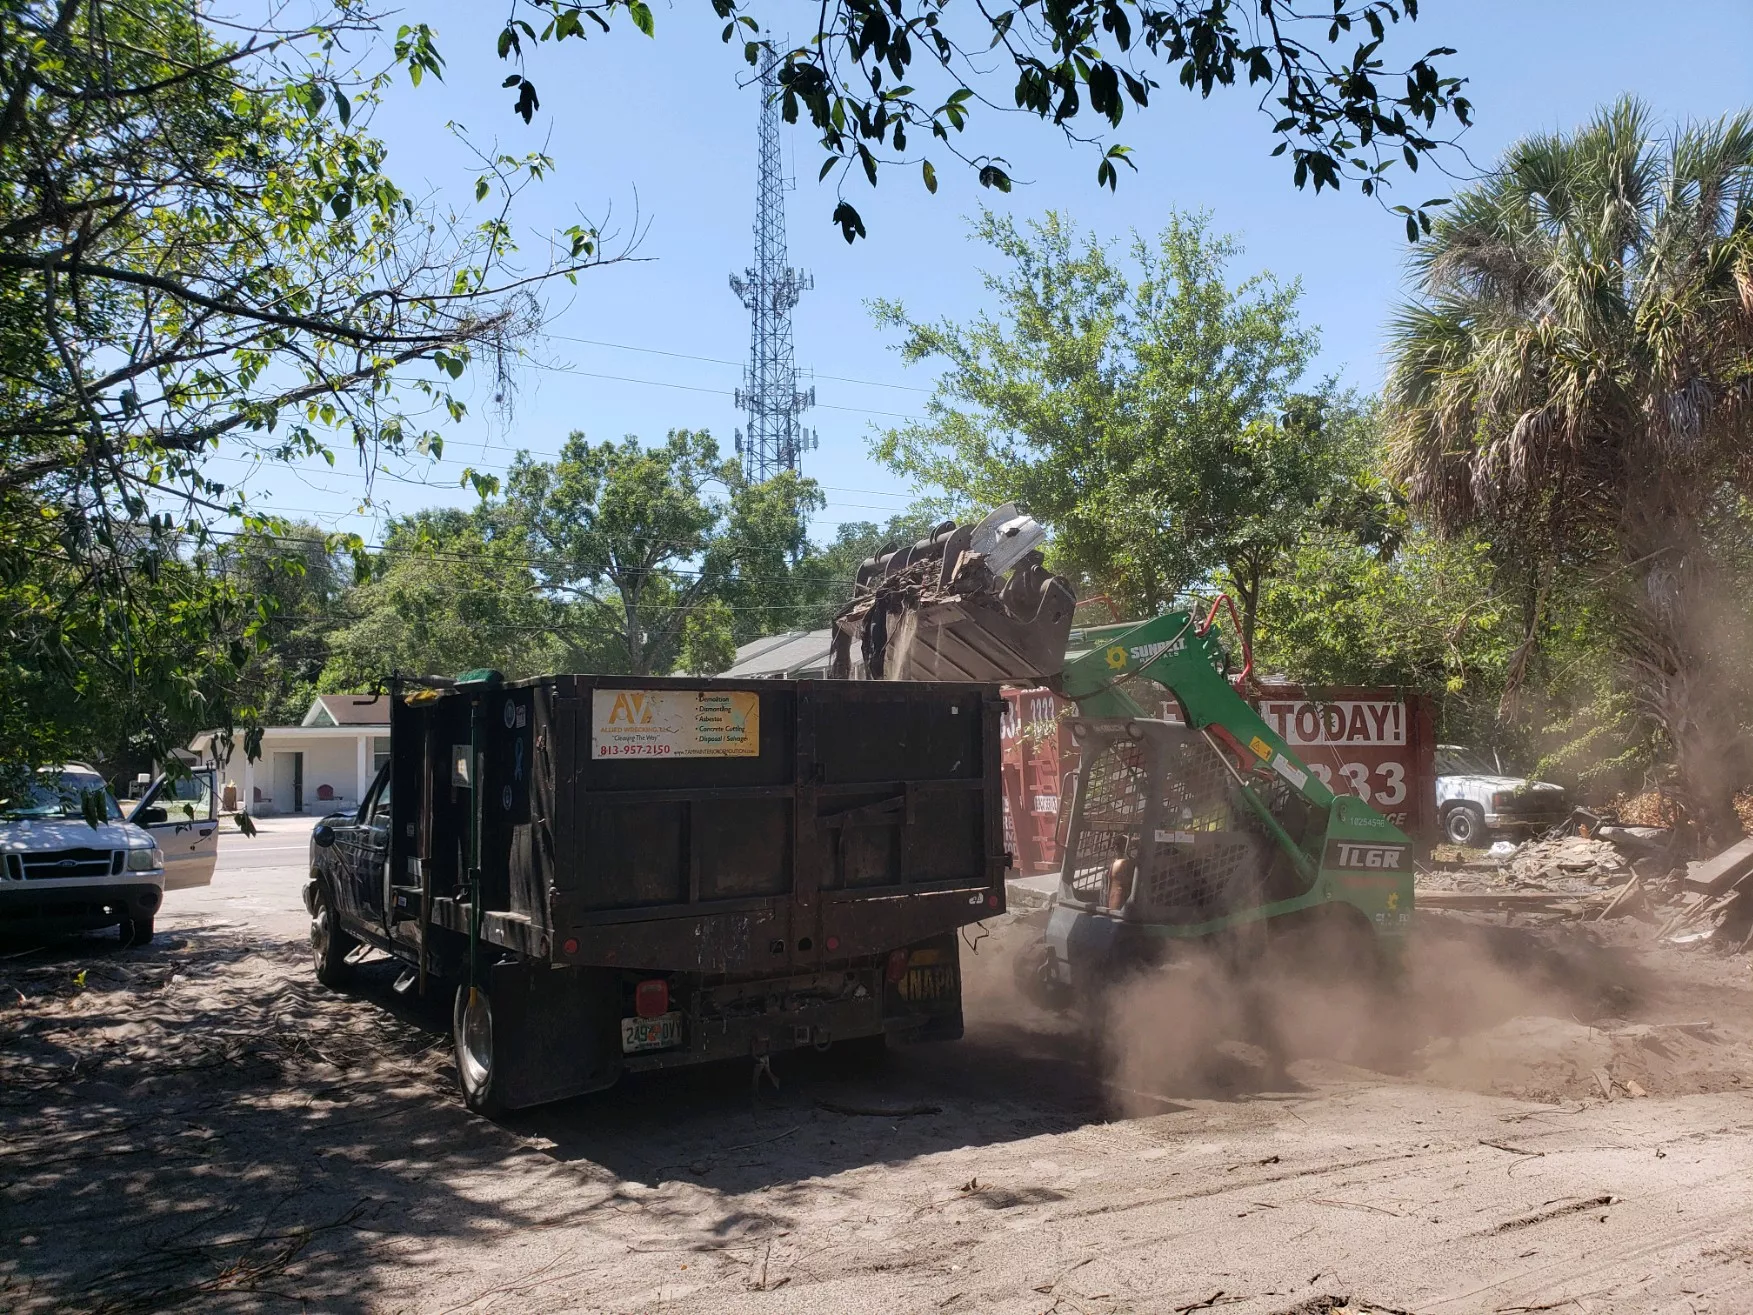
- Obtain documentation of proper waste disposal and recycling
Conclusion
Thorough preparation is the foundation of a successful demolition project. By following this checklist, you can ensure your property is ready for demolition, minimize potential problems, and set the stage for a smooth transition to your next project phase.
While this checklist covers most common preparation needs, each property is unique. Working with an experienced demolition contractor like ALLIED Wrecking ensures all site-specific requirements are identified and addressed before demolition begins.